What does it cost to Furnish an Airbnb?

Calculating the cost of furnishing your new Airbnb will depend on a number of factors such as the size of the space, the style and quality of furniture you choose, and the location of your property. Here are some steps to help you figure out the cost of furnishing your Airbnb:

  1. Determine the size of your space: The first step is to determine the size of your Airbnb. This will help you decide how much furniture you need and how much space you have to work with.
  2. Make a list of necessary furniture: Make a list of all the furniture you need to furnish your Airbnb, including beds, dressers, nightstands, sofas, chairs, tables, and lamps. I have a spreadsheet to help you do this, but more on that later.
  3. Research furniture prices: Do some research to find out the average cost of the furniture you need. Check out furniture stores, online retailers, and secondhand furniture shops to get an idea of the price range.
  4. Set a budget: Determine how much you are willing to spend on furnishing your Airbnb. This will help you prioritize your purchases and make sure you don’t overspend. You may wish to understand on some items so you can overspend on items you think are really worth it.
  5. Factor in additional costs: Don’t forget to factor in additional costs such as delivery fees, assembly fees, and taxes. We bought a cabin in a remote area, some items were not deliverable to the address so we had to get them shipped to our home and then bring them in ourselves.
  6. Consider the location of your property: If your Airbnb is located in a touristy area, you may need to invest in high-quality, stylish furniture to attract guests. If your Airbnb is in a more rural or less popular area, you may be able to get away with more basic furniture. Consider if you want your furniture & decor to be part of your competitive edge against other options in your local market.
  7. Start shopping: Once you have a good idea of what you need and how much you are willing to spend, start shopping around for furniture. Be sure to compare prices and quality before making any purchases. We opted for higher quality in major pieces. Which for us meant no Ikea furniture, frames and decor, sure, but not for any large items, like furniture or statement pieces.

Overall, furnishing your Airbnb can be a significant investment (Thousands of dollars), but it’s an important part of creating a comfortable and inviting space for your guests. By doing your research, setting a budget, and shopping smart, you can create a beautiful space without breaking the bank.

One of the best compliments I ever received from a guest:

“…will definitely be leaving good reviews. Our stay was great and I even snapped some pictures of the decor for some inspiration for our home. Well done to whoever designed and decorated! Thanks again!”

That comment made all the hard work worth it to me. 

A Rule of Thumb – Cost Per Square Foot

If you’re looking for a rough idea you can use some “back-of-the-napkin” math to set your budget. A simple rule of thumb is to use a cost-per-square-foot rule of thumb.

Let’s say you have a 1,500 square foot house. If want to spend in the range of $15-$20 per square foot, that puts you in the range of $22,500 to $30,000 to furnish your short-term rental.

The drawback, this rule of thumb doesn’t tell us much about the house. Is it 1 bedroom or is it 4? 1 bathroom or 3? Is there a large deck and patio space that needs to be furnished or does the home lack outdoor living areas? That’s why it’s a rule of thumb, all thumbs vary so it is not exact, but it can be a helpful start.

Let’s put it to the test. I bought a cabin that has 1,532 finished square feet. (it also has an outdoor deck, think, more living area that we need to furnish).

We actually spent $17,285.94 on furnishing the property. The math pans out to $11.28 per square foot.

It’s important to give you some more figures in that number:

  • We aimed for higher quality items for most things. We bought things that are way nicer than what we have in our own house.
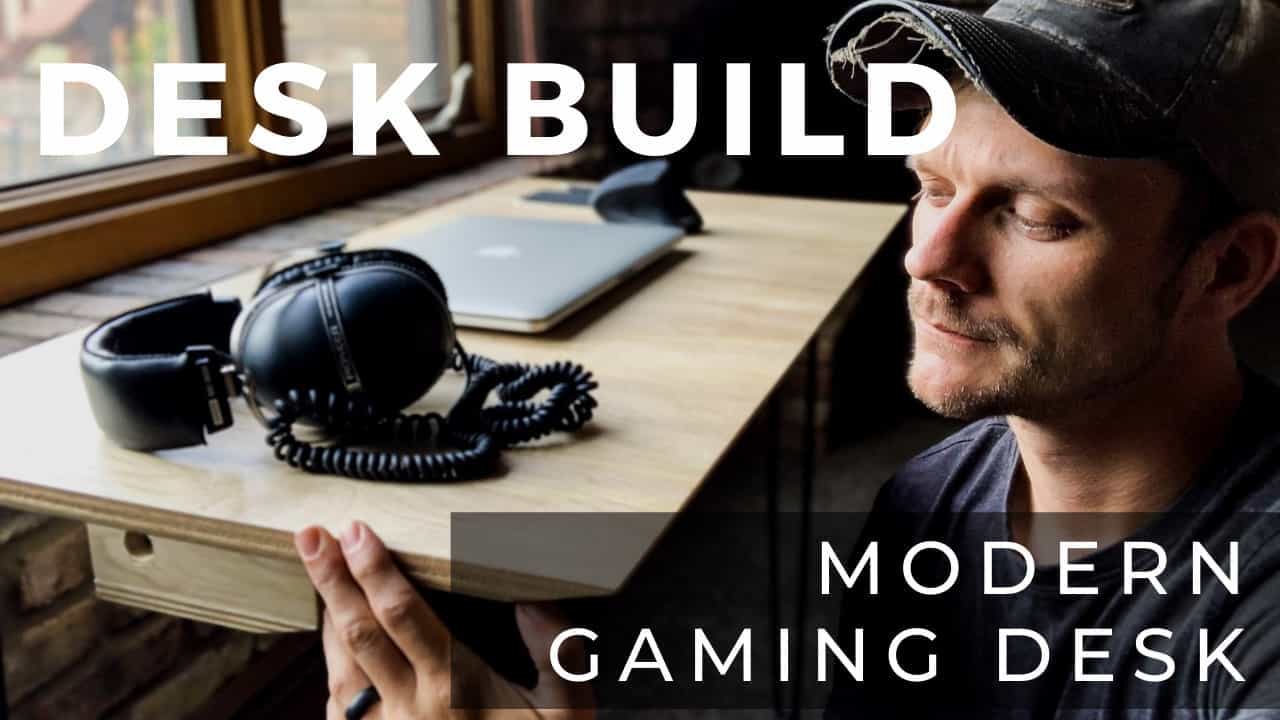
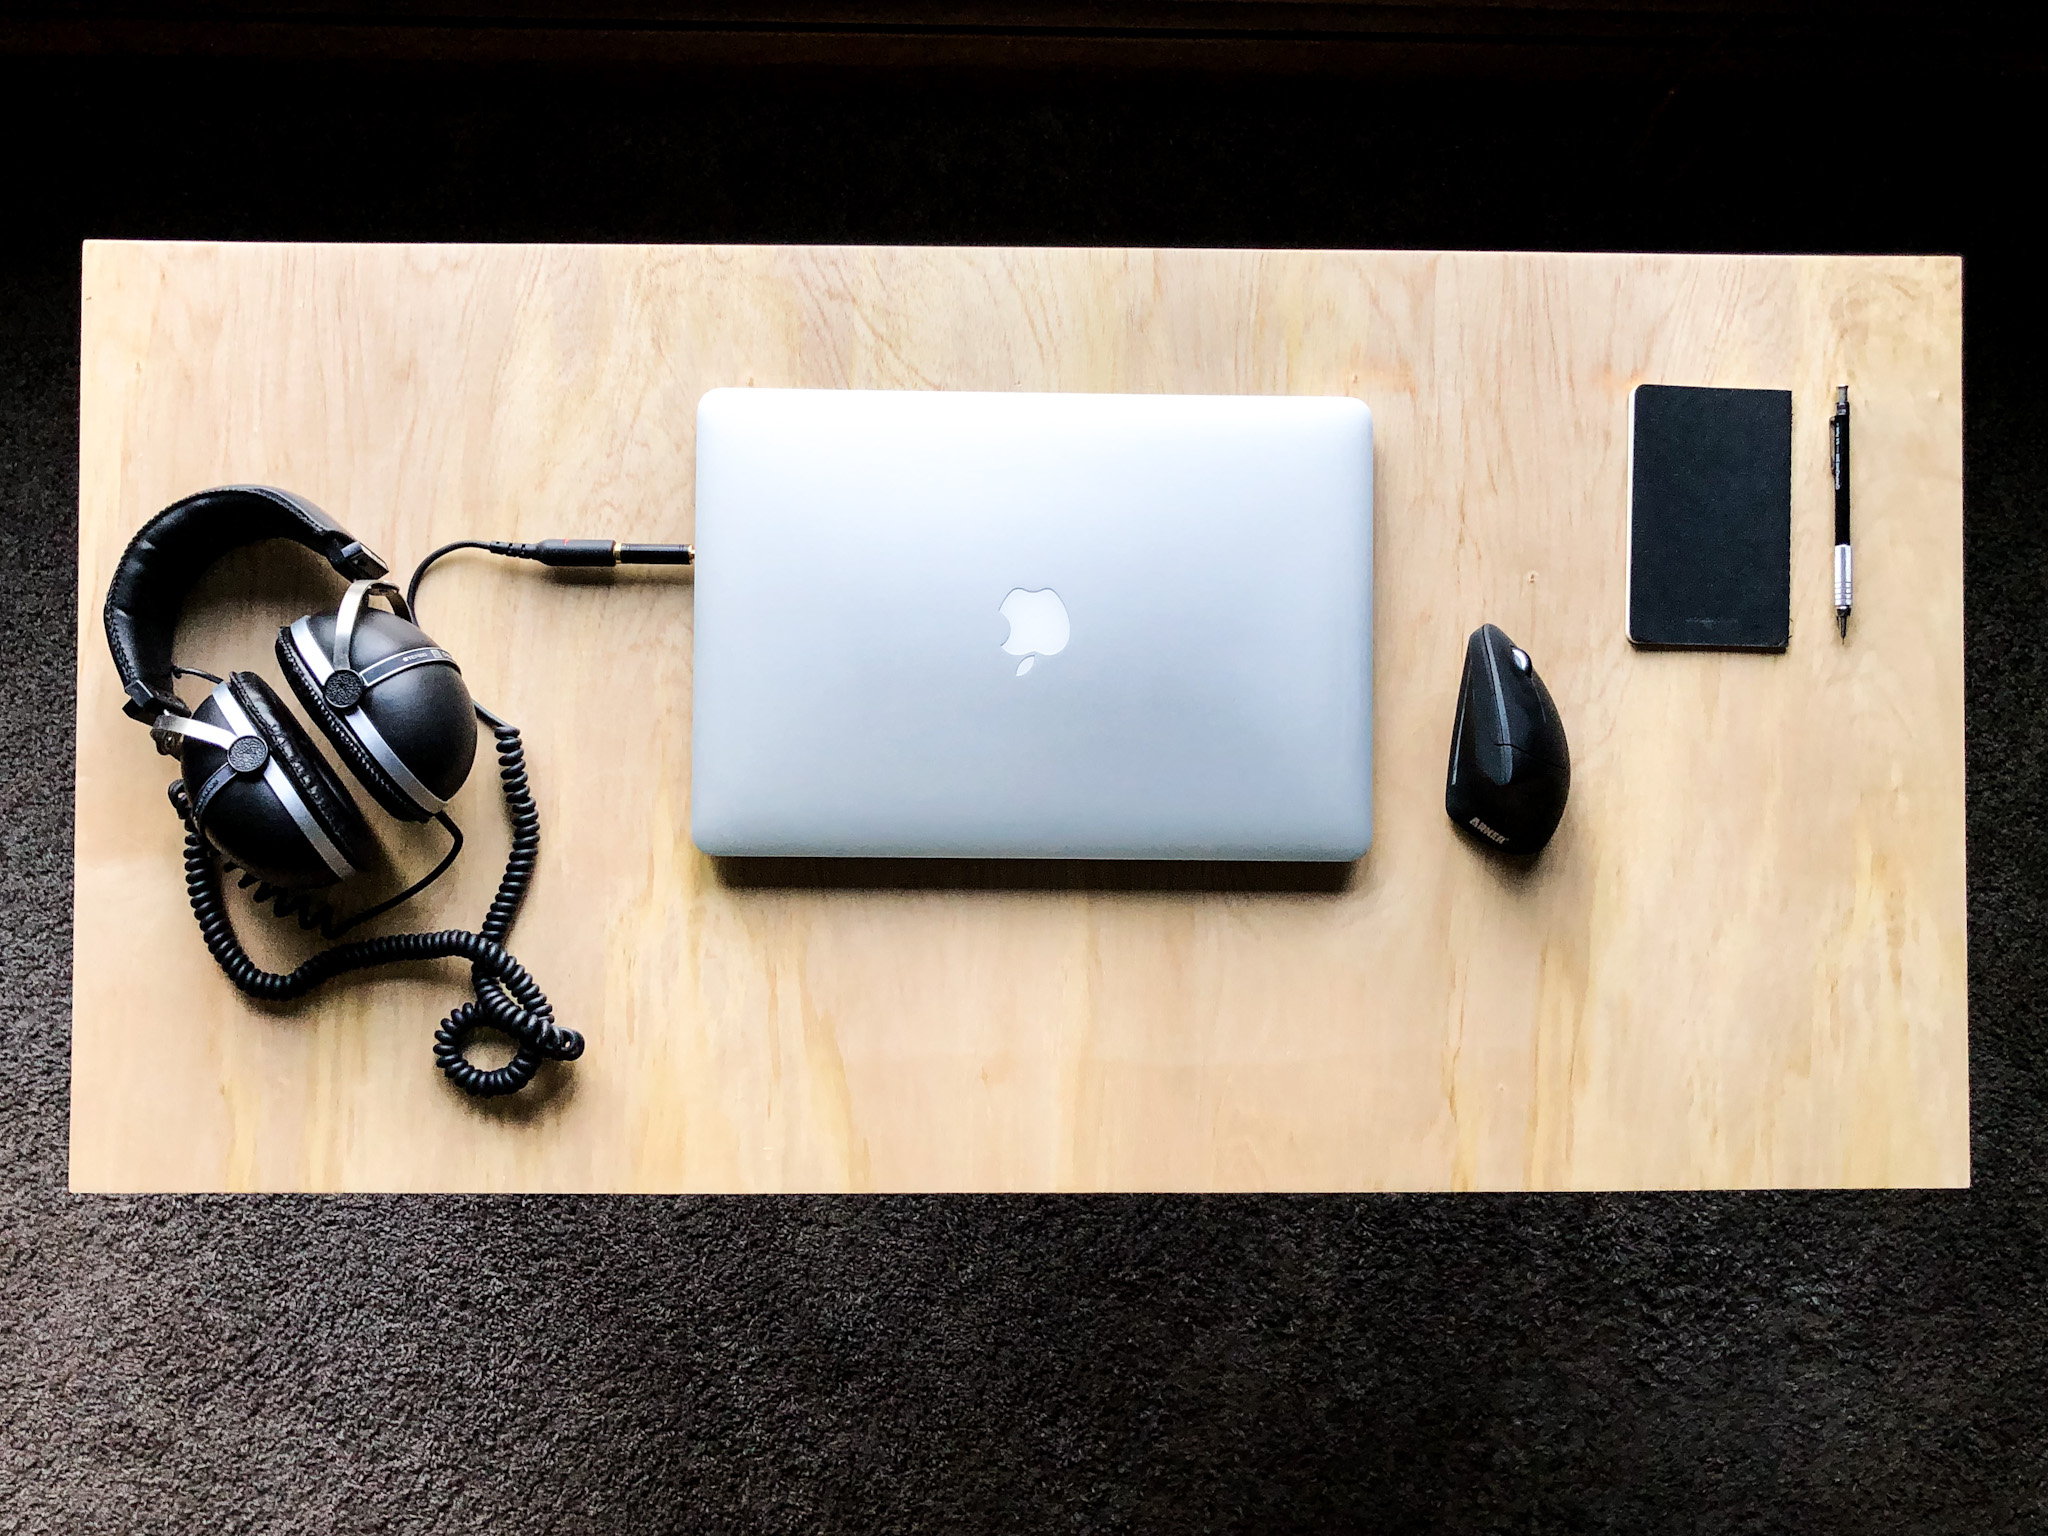
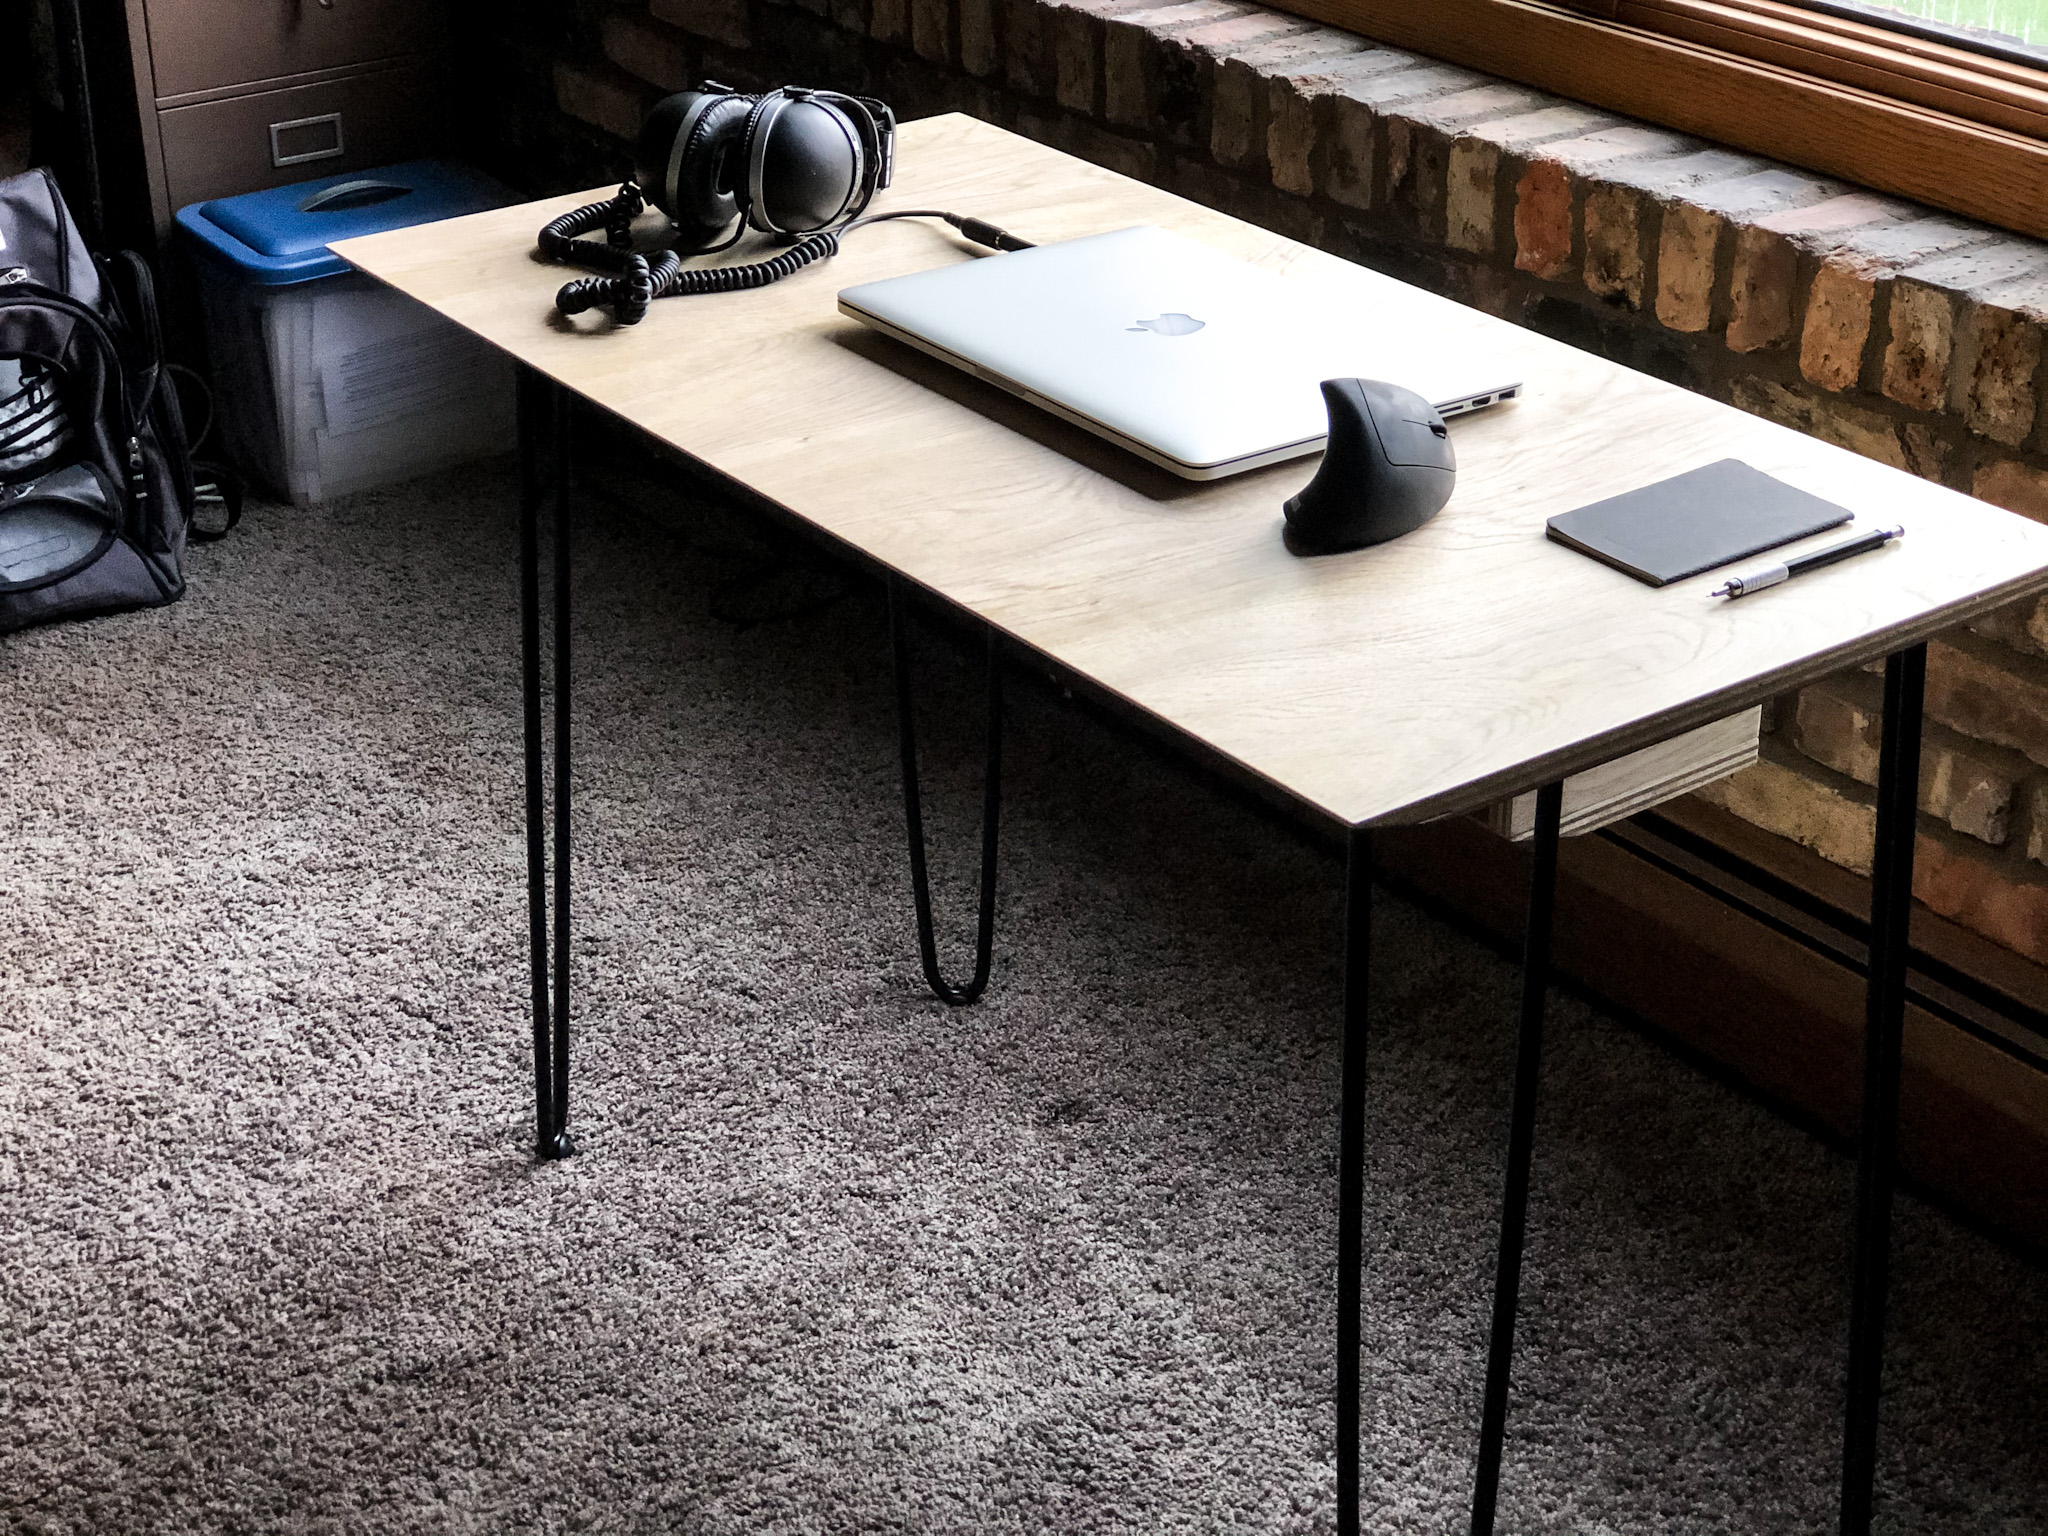
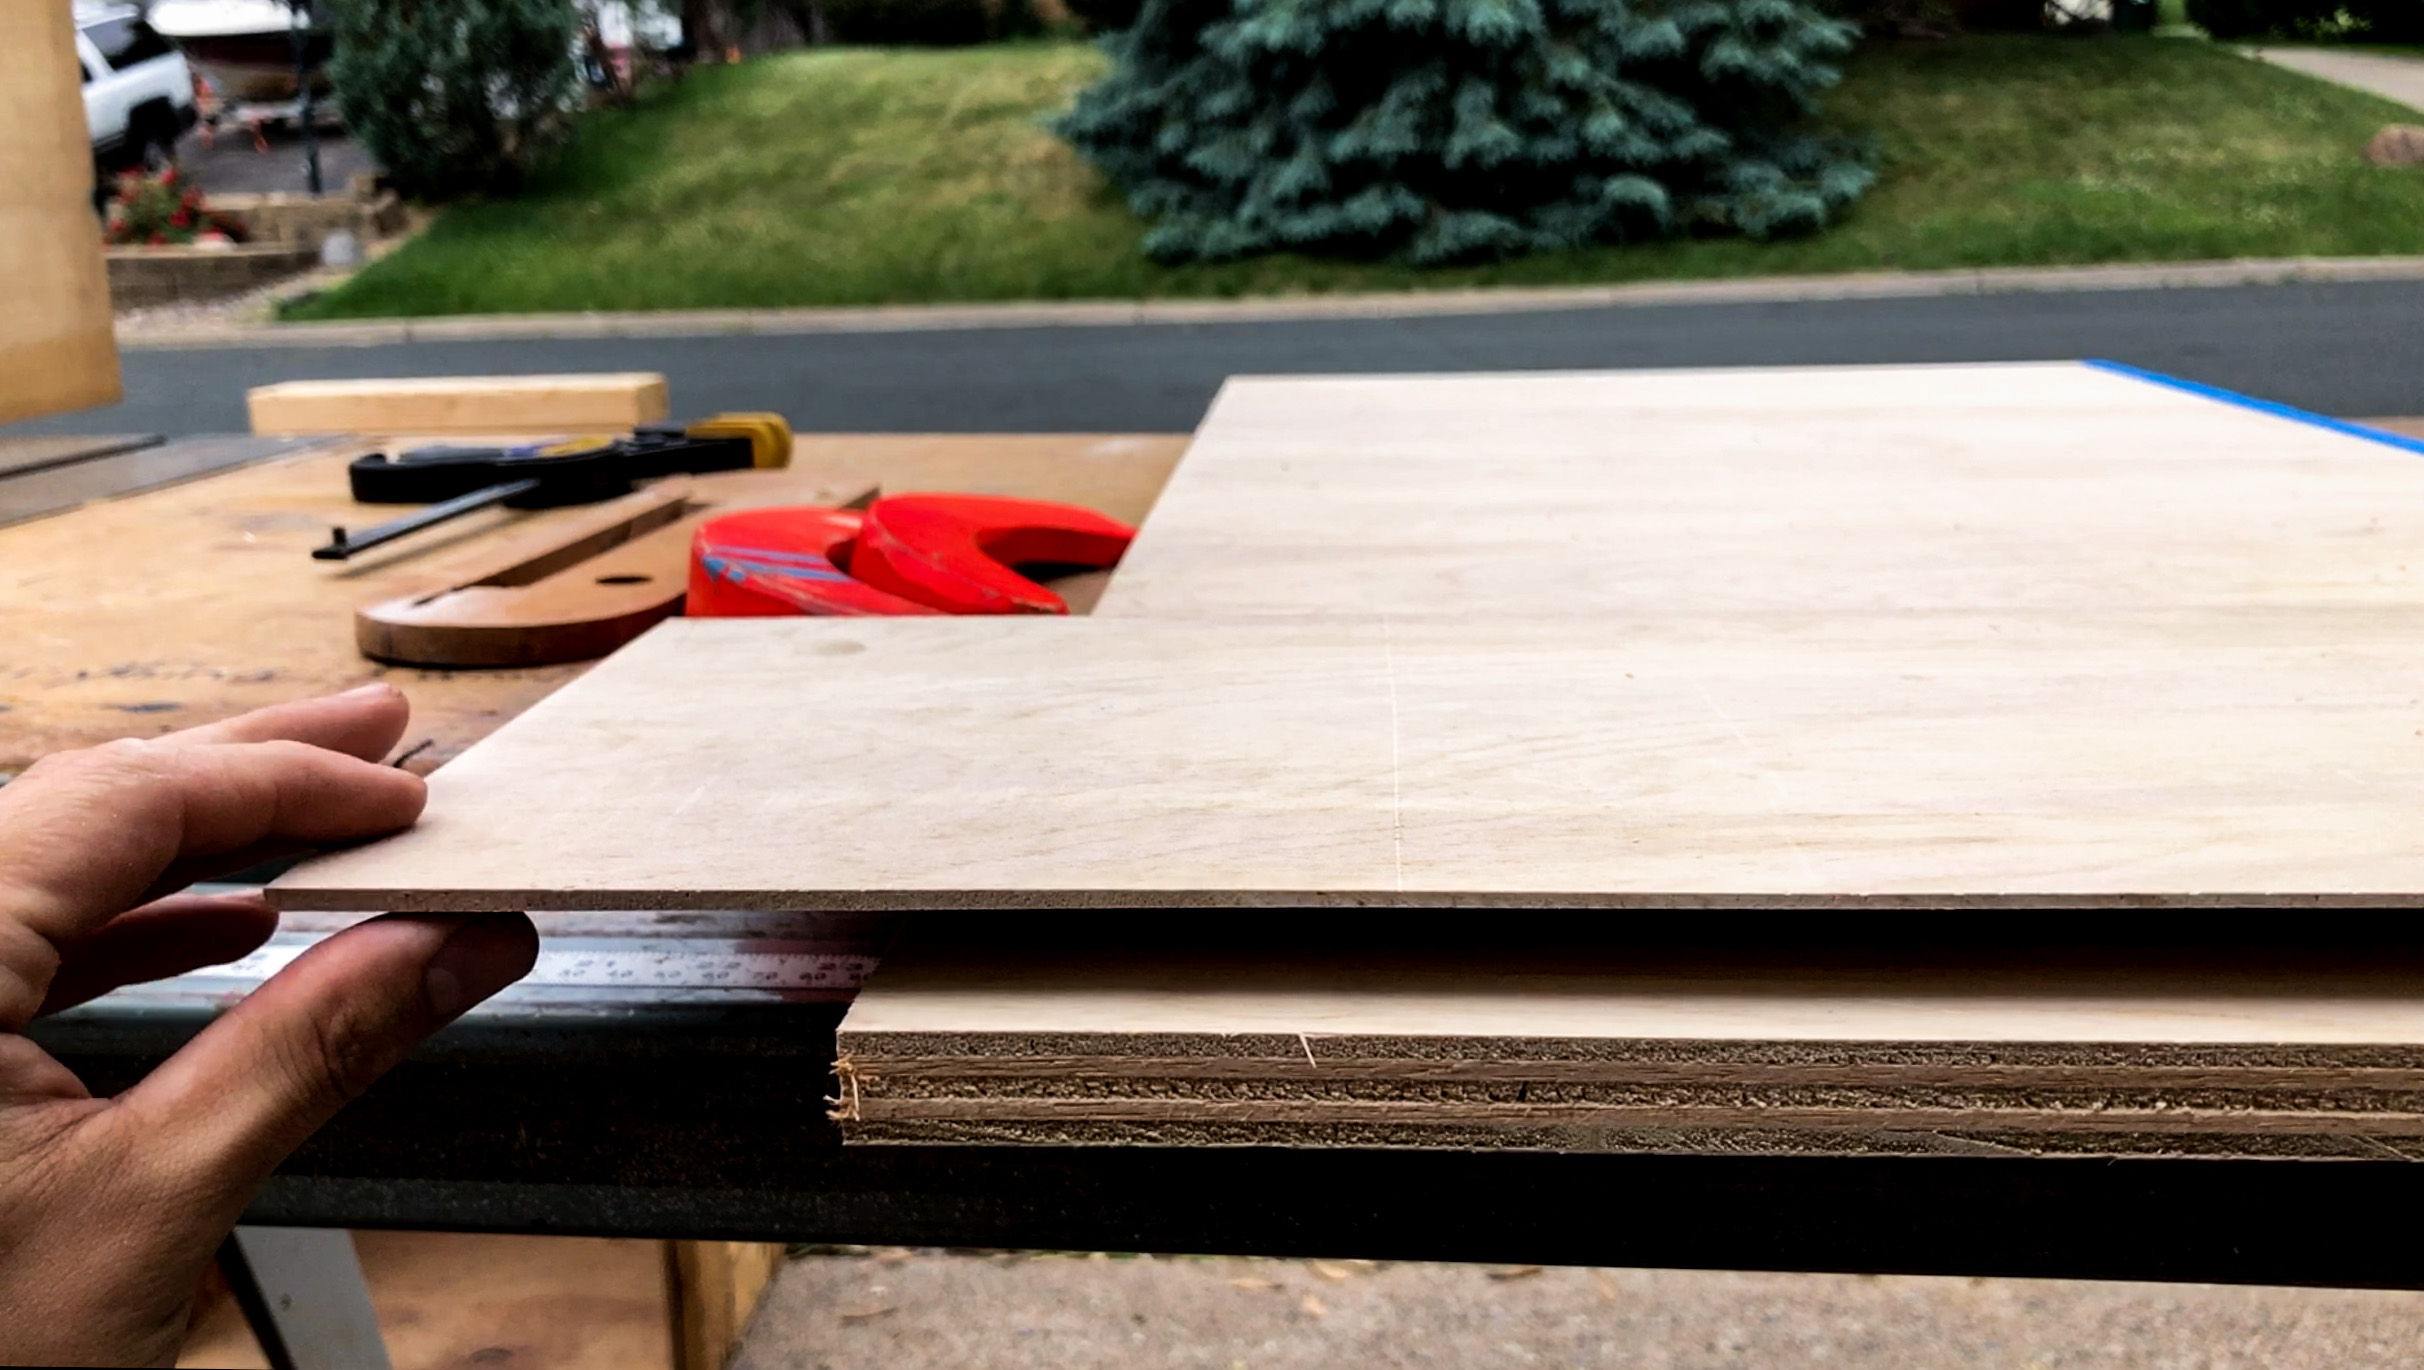
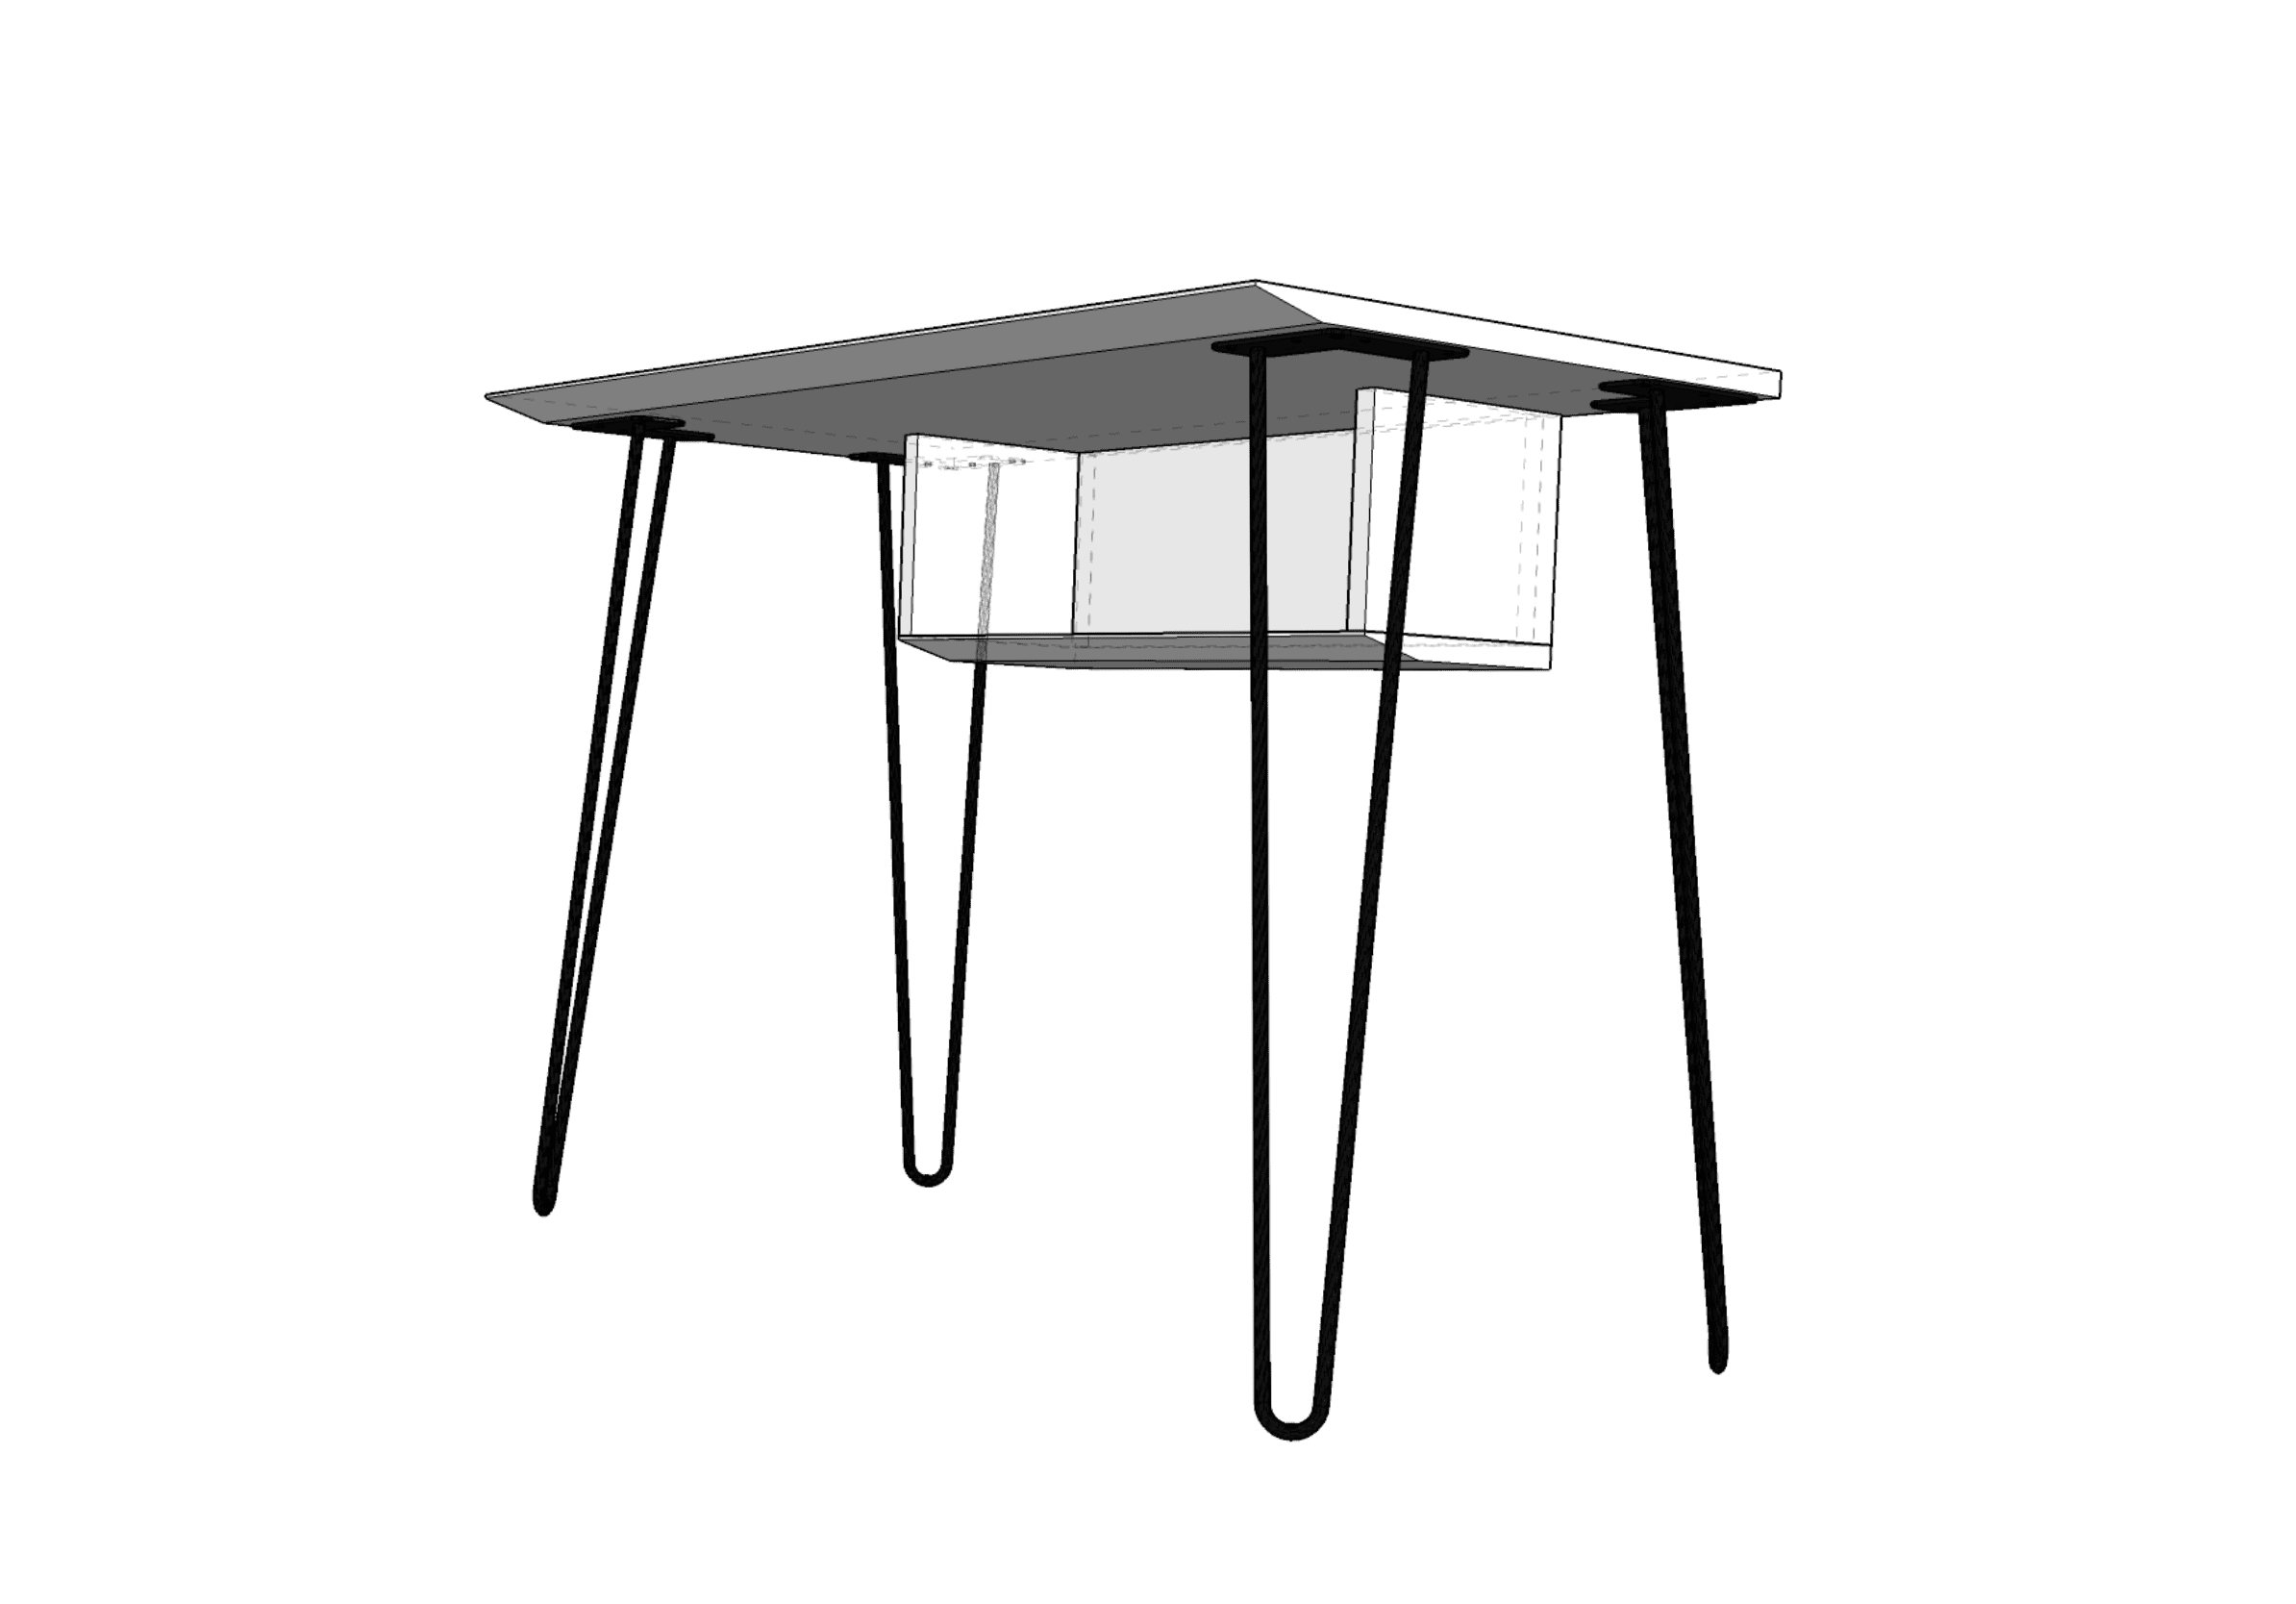
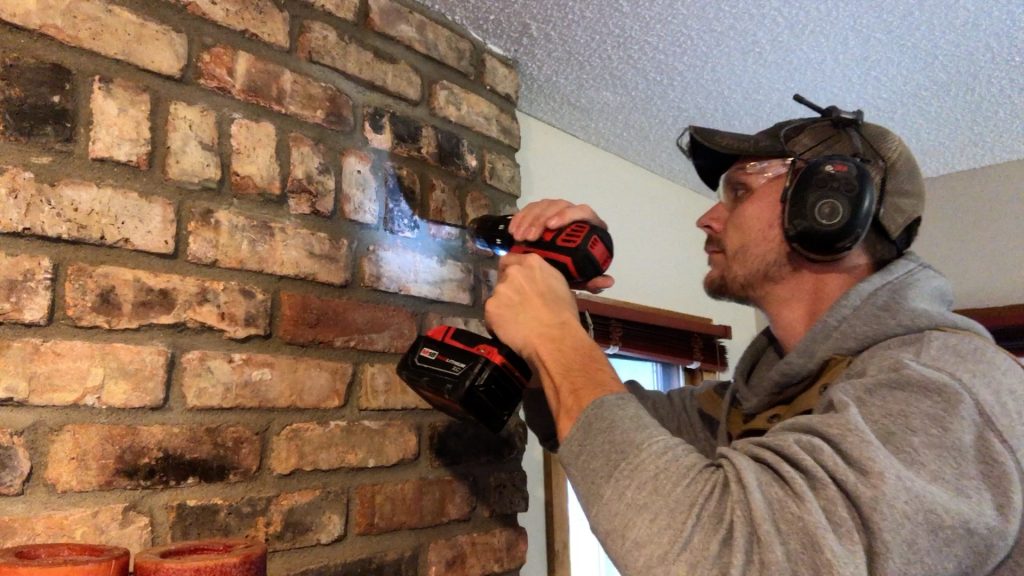
  • As a carpenter, I built much of the furniture myself. Things like end-tables, nightstands, desks, coat racks, benches, a coffee bar, and the dining room table.  So our cost, would have been much higher if we had to buy those items. Instead, I paid for the cost of materials and sacrificed my own time.
  • We added minimal outdoor furniture as part of our initial cash outlay. We launched the property in mid-October, no sense in buying some nice patio furniture just to store inside for the next 6 months of a snowy winter. We’ll buy that in the spring when its more likely to be used by guests, so that cost is not in the figure above.


Property Improvement Costs

Also, it’s important to know we are talking about furnishings, property improvements are not counted in this number. That is things like repairs and upgrades we made to the physical property. Painting, staining the deck, adding site-built drainage systems, running new electrical, adding a fireplace, replacing dog-flavored-carpet, and countless other small items.

I do plan to share a Calculator for estimating property improvement costs too.

Holding Costs

You will also have holding costs. Holding costs are the cost to “hold” or own the property while you aren’t ready to rent it yet and make an income on it. The bills still need to be paid and that’s your job. The HOA dues, electric and/or gas utilities, water bill, trash service, internet, and even software products you might use for running your Airbnb/business.  And don’t forget that mortgage payment, homeowners insurance, and county taxes.

 A Tool To Help You – A Free Cost Estimator

I made a spreadsheet to calculate these things, I turned it into a template for you to use. It’s a Google sheet, so you’ll need to save your own copy and then edit that copy.

I hope it’s a helpful starting point for estimating the costs to furnish your Airbnb. You can customize it to fit your scenario, by adding more line items, adjusting the quantity or price of items, and linking to them so when you’re ready to start buying you have your whole shopping list ready. It’s no small task, you are essentially outfitting an entire household. That’s a lot of shopping so it’s best to stay very organized.

If I were more of a hype-man I might say something like:

“Are you tired of playing the guessing game when it comes to furnishing your Airbnb listing? Don’t worry, we’ve got you covered with our Airbnb furnishing cost calculator spreadsheet. It’s like having a psychic interior designer in a downloadable file!

No more stressing about how much it will cost to make your guests feel at home. Our calculator takes into account everything from cozy furniture to trendy decor, so you can get an accurate estimate without having to consult the stars.

Plus, our spreadsheet is fully customizable, so you can add your own unique items like that vintage lamp from your grandma’s attic or that quirky painting from your last vacation. Who says you can’t mix leopard print with polka dots?

With our Airbnb furnishing cost calculator spreadsheet, you can be the host with the most, without breaking the bank. So go ahead, download it now and let the good vibes roll in (and the cash too, of course).”

Here’s the Airbnb Furnishing Calculator (By Room) *

Like other things on this site it will have some affiliate links. That means by buying the recommended items I may receive a small commission on those items. This occurs at no additional cost to you and helps me underwrite the cost of producing these resources. and others. Thanks for your support. Mostly everything you’ll find linked are items we have used (or similar where exact products were no longer available) to furnish our own Airbnbs.

*I plan to update this from time to time. It’s a work in progress and I have some improvements planned, so you may want to check back here for the latest version. 


How To Build a Modern Looking Gaming Desk

For this build I decided to use Hairpin style legs which is a hallmark of Mid-Century Modern furniture. (You can see this whole build on YouTube)

Hairpin Legs have been used on a number of furniture pieces including beds, sofas, end tables, coffee tables, dressers, and coffee tables.

I’ve been wanting to use them in a project for a while now and finally got the chance to do so when my friend Cameron asked me to build this gaming desk for him.


Since hairpin legs typically attach with either screws or bolt they install quickly. Which saved me a decent amount of time on this build. Likely, this is also due to the fact they’re are now readily available commercially, so you don’t have to spend hours in front of your blacksmith forge hammering them out. 

If you’re looking to build some of your own furniture and you like the look of Hairpins, I’d recommend trying them. They’re simpler than I thought they’d be

One of the ways I’ve seen them used in design is to contrast weight. Hairpin legs are usually thin and skinny, around 3/8″ in diameter. When used to support something that appears really heavy (for example a 4″ thick walnut slab coffee table) it creates a sense that the object is “floating in the air” This is because the contrast shifts our cognitive perceptions of the realistic relationship between an object’s appearance of weight and what would be required to support it (Gravity & Structure).


In this build, I wanted to explore a different design idea. I wanted the desktop to be as thin as possible. Thinner than the Hairpin legs if I could manage it. This idea would create a different relationship between our expectations for “Gravity and Structure.”

At first, I explored different types of metal for the desktop, looking for something that could give me the strength & support while also providing the thin appearance.


Long being a fan of the “Back Cut” I realized that could be a good option. So I tried it out with 3/4″ thick Maple plywood.

I “Back Cut” the front edge so that it was a hair under 1/8″ thick. This was good. The desk looked very thin. That was the look I was looking for.


Here’s the plan.

I’ve also got the SketchUp file for you, so you can make your own modifications to the desk to fit your needs. 

What is SketchUp?

SketchUp is a 3D modeling computer program that has a lot of drawing/modeling applications like architecture, interior design, landscape architecture, civil and mechanical engineering, film and video game design and even wood working.

To download SketchUp, you can find a free version of the software here

How To Install A Nest Learning Thermostat

In this video, we’ll unbox the Nest Learning Thermostat and I’ll walk you through the install & setup. You’ll want to make sure that your existing thermostat is a low voltage (24 volts) in order for Google Nest to be compatible with your system.

Outline of this video for easy navigation:
Check Compatability: @0:23
Unboxing: @2:28
Install: @3:32
Set Up & Configuration @7:23

Link to instructions: https://nest.com/support/images/00000…

If your existing thermostat has 2 labels you’ll want to check this site for further instructions and to confirm compatibility: nest.com/2labels

Nest Learning Thermostat*- https://amzn.to/2HD3ULA
Nest Learning Thermostat Black* – https://amzn.to/32abVkD
Voltage Meter* – https://amzn.to/37Kkl3h
Wire Cutter & Stripper* – https://amzn.to/2V9oTh6 _

_________________

See What I’m Up To:
Instagram: https://www.instagram.com/mkrzesowiak/
TicTik: https://vm.tiktok.com/9tyjaL/

How to Fasten to Brick Using Tapcons and Common Mistakes to Avoid

How to Fasten to Brick Using Tapcons and Common Mistakes to Avoid

Tapcons are a great light-duty way to fasten to concrete and masonry products. They are accessible to most homeowners and DIY’ers because they are easy to use and only require having; a drill with a hammer setting, an impact driver and a masonry drill bit.

How To Fasten To Brick Using Tapcons

In this YouTube video, I’ll show you how to fasten a Guitar Mount to a brick fireplace and we’ll talk about some of the common mistakes to avoid when using Tapcons. You can also read the summary of the common mistakes below.

Using The Wrong Drill bit Size for The Fastener

The hole needs to be slightly smaller than the diameter of the fastener so that the threads of the Tapcon have something to grab into. If the masonry bit you use is too small you won’t be able to drive the Tapcon in at all. If the masonry bit is too large, the Tapcon will not hold.

You can find out which sized masonry bit to use by looking at the Tapcon packaging. Based on the diameter of the fastener you have, the masonry bit size will be indicated on the box.

Over Boring The Hole

This is similar to using the wrong diameter bit. When drilling out the hole for the Tapcon you will need to keep a steady hand. If you “wobble” the bit side to side as you drill you’ll effectively make the hole wider and the fastener won’t be able to hold the load.

To avoid this drill your hole at a consistent angle and stay steady. Drill quickly and use a sharp masonry bit.

Over Driving The Fastener

You want to snug the fastener up so that it holds, however, you don’t want to over-tighten it. This can be fairly easy to do when you’re using an impact driver. Over tightening/driving can result in the threads of the Tapcon being worn down as they spin against the concrete, some of the concrete will also be ground away. The result is a fastener that won’t hold, just like over boring the whole with the masonry bit.

So remember, snug it up, but don’t over tighten.

When A Tapcon Won’t Go All The Way In

This is by far the most common problem people will face when using Tapcons.

This can happen for a few reasons. Typically what happens is that as you drive the Tapcon in some of the residual concrete dust is left in the whole from drilling. This dust compacts at the bottom of the hole not allowing for the Tapcon to be driven in fully.

Here are some tips to avoid this:

  1. Drill the hole deeper than you need (ie. Deeper than the length of the Tapcon fastener). That way any residual concrete dust will have a place to go.
  2. Clean out the hole before driving the Tapcon in. The best way to do this is with a vacuum and/or an air compressor. I’ve found that the needle attachments for blowing up sports balls (think basketballs, footballs, etc) are pretty effective for blowing concrete dust out of the holes.

With that, may you avoid these common mistakes and may your Tapcons forever hold strong.

What Makes the Stack Effect Stronger?

What makes The Stack Effect stronger?
Short answer, a higher “Delta T’ (and other factors).

Wat the wat? A higher what?

“Delta T”

Here’s the english: “Delta T,” is used in the building sciences as shorthand (“short-speak”) for Difference in Temperature. That’s all it means.

Air is a fluid. One property of this fluid is that warmer air is more buoyant and so it rises. Cold air is denser (heavier in a sense) so it sinks. This simple principle is the driving force behind the Stack Effect. (Sometimes called, The Chimney Effect).

When is this force (The Stack Effect) more powerful? When there is a higher delta T.

For example, let’s say we have a house at 70° F. It’s a mild fall day and the outdoor temperature is 65° F outside. Our “Delta T” or Difference in temperature, is 5° F (70 – 65 = 5). The hot air is going to rise to the top (2nd story and attic) of the house and leak out. As it leaks to the outside it creates a negative pressure inside the house. Now, we have a “Delta P,” a difference in air pressure.

As that air leaves, new air needs to replace it. New air will leak in from the first floor or basement. This movement of air in and out of the house (and through the house) is driven by the air’s buoyancy. Overall this observable condition is the Stack Effect.

Let’s look at the same house a few months later in the winter. The indoor temperature is 70° F . The outdoor temperature is now 10°F. Our “Delta T” is now 60°F (70 – 10 = 60). A higher delta T means more buoyant air, this creates a greater difference in pressure (Delta P) as the force of the more buoyant(warmer) air escapes faster.

The greater the Delta T and the greater the height of a building the greater the force of buoyancy.

Just like a blustery day, the Stack Effect can move a significant amount of air through a building’s envelope. Leaky buildings consume large amounts of energy as their mechanical and ventalation systems condition (heat or cool) air that is continually exiting the building. What is special about The Stack Effect is that it works every hour of every day when there is a difference in temperature. It’s a near constant force unlike other air pressure forces in a home.

Resistance

Another factor, the size of air leaks. Said another way, if we decrease resistance our fluid (ie air) will flow from areas of high pressure to low pressure more easily. Simply put this allows for the Stack Effect to move a greater volume of air through the building envelope. Take opening a window for example. This increases the air driven by the Stack Effect because it decreases air resistance. A larger volume of air is now able to flow through the building more easily. Decreasing resistance makes the Stack Effect stronger.

In a building, this is what we don’t want. We want to keep as much of our conditioned air as we can.

All Aboard The Merry Go Round

So what happens when we put it all together? Here’s one scenario to consider:

In the winter, cold air leaking into the first floor will make people feel cool. What’s the typical response? Turn up the thermostat naturally. The heating equipment warms the air, giving it more buoyancy. It rises and leaks into the 2nd floor above.

With this extra heat upstairs the building’s occupants may get overheated and feel uncomfortable. They crack a few windows to cool off. This decreases resistance, increasing the amount of air flow leaving the building. The “Delta P” downstairs is driven up causing more cold air to leak in. People downstairs feel colder, they turn up the thermostat again.

The cycle repeats and now you’re on merry-go-round-death-spiral of trying to heat the entire county in the winter with your cute little furnace. Good luck to your futile efforts, please tell us how expensive your energy bill was when you’ve succeeded.

Air Seal. Air Seal. Air Seal.

So what can you do?

The Stack effect is why air sealing is so important in houses. Many homeowners looking to save energy (at least in a heating dominated climate) will turn to strategies like beefing up the attic insulation. While important, this NEEDS to be done with air sealing. Air sealing seals up as many gaps and cracks as we reasonably can, as effectively as we can. This adds resistance to air movement decrease the power of the stack Effecting, keeping your conditioned air exactly where you want it. Inside the building.